How do I design files for print?
You can create your own files by uploading photographs or scanned images, but most use graphic design programs because they are precise, scalable, flexible, and ensure high-quality results. Alternatively, Mixam’s free design tools enable you to make print-ready files within a pending order.
What print design tools and programs can I use?
| Mixam's Design Tools | Adobe InDesign | Adobe Illustrator | Adobe Photoshop | Canva | Affinity Publisher | |
| Set your own bleed and trim areas | Automatic | ✔ | ✔ | ✔* | ✔ | |
| Export in CMYK | ✔ | ✔ | ✔ | ✔ | ✔** | ✔ |
| Export as PDFs | ✔ | ✔ | ✔ | ✔ | ✔ | ✔ |
| Work in spreads | ✔ | ✔ | ✔ | ✔ | ||
| Work on single pages | Single and double | ✔ | ✔ | ✔ | ✔ | ✔ |
| Create vectorized files | ✔ | ✔ | ✔ | ✔ |
* You can only set a 0.125" bleed on Canva (free and paid Pro version)
** Canva doesn't have a choice of color profiles, but you can export in CMYK with Canva Pro (paid)
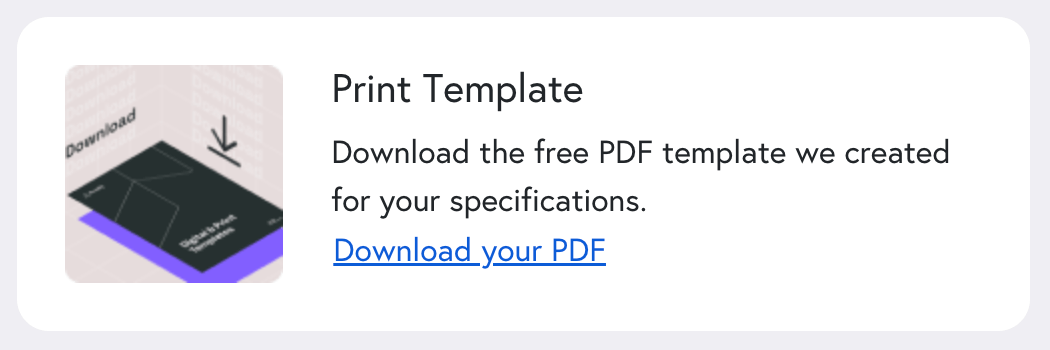
What are downloadable print templates?
If you create your own files, you can download free PDF templates on our Instant Quote Calculator for every product and specification, including custom sizes (subject to availability).
Every template includes printing guidelines for inner pages, covers and spines if relevant. Use the template as an underlay to lay out your artwork, and once completed, remove the template and save your design before selecting 'Upload Own Artwork' on the Calculator.
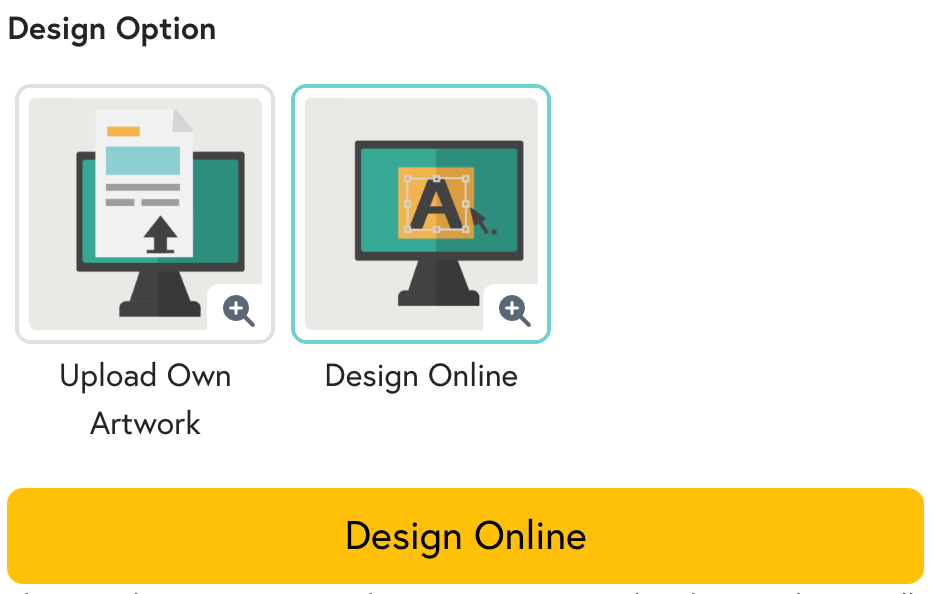
What is Mixam's Design Online tool?
This free, time-saving tool allows you to create files with a range of pre-made layouts, typefaces, and graphics. You can insert your own images and text, and it’s available for most products and specifications.
To access it, select the 'Design Online' option on the Instant Quote Calculator or in a pending order’s Artwork tab on the left-hand side of your screen.
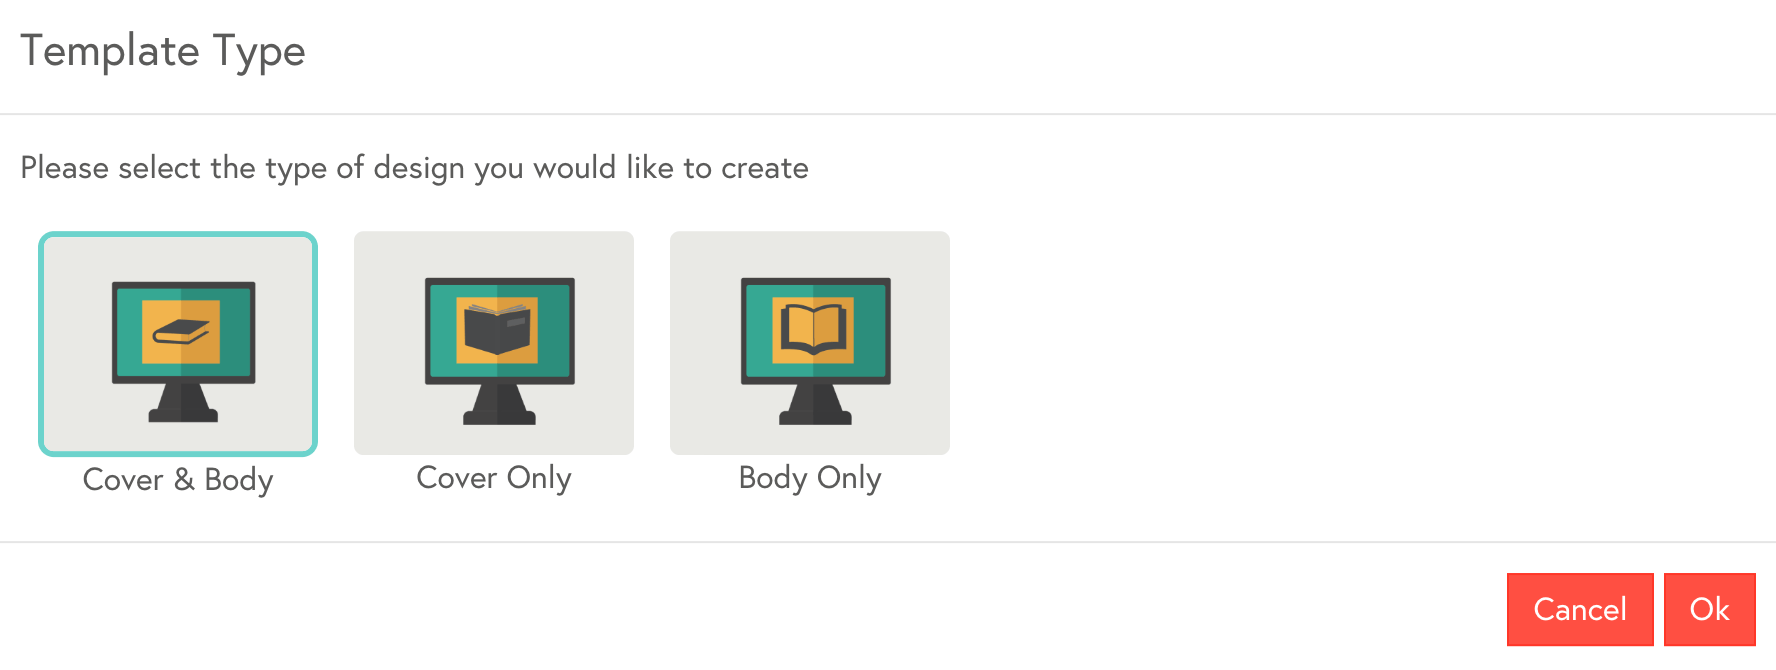
You can create an entire design (Cover & body) or use the tool to design specific part(s): Cover Only, Body Only, or Spine.
The tool will automatically generate the specifications you selected on the Calculator, such as size, page quantity and printing guidelines. Selecting ‘Expert’ mode before you begin your design will also give you greater editing control.
For more information and instructions, visit our Design Online support page.
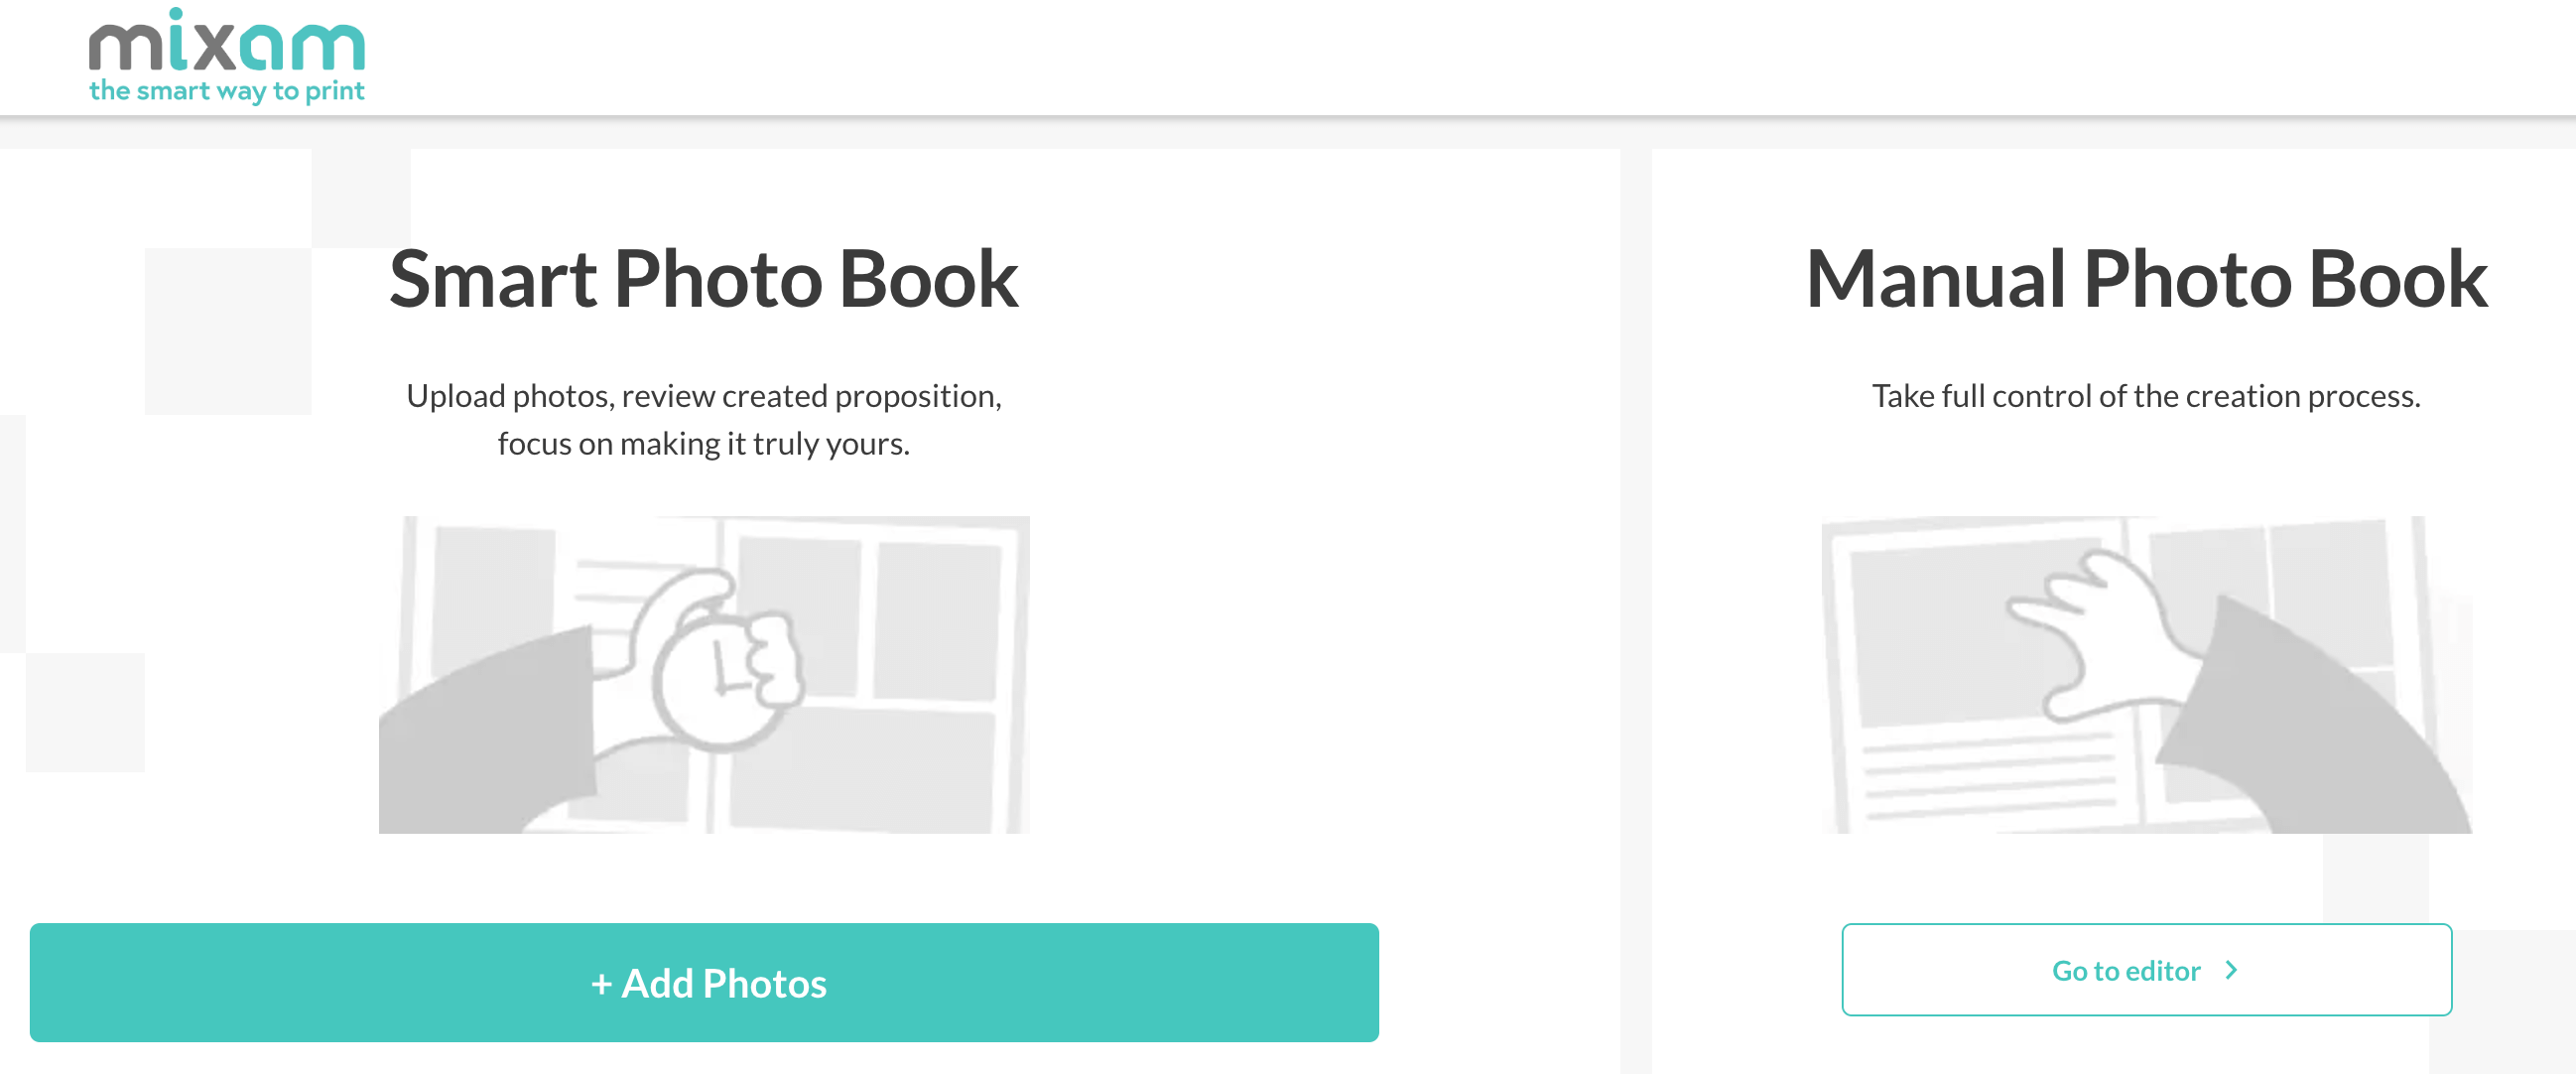
What is Mixam's Photo Book Editor?
Like Design Online, this free and efficient tool is for photo-based book printing.
It accelerates the file creation process by offering a range of pre-made layouts, typefaces, graphics, and preset printing guidelines. You can either design your book manually by dragging and dropping your photos or use the Smart Photo Book option, which will intuitively generate a design using AI.
For more information and instructions, visit our Photo Book Editor support page and watch our Photo Book Editor video tutorial on YouTube below.
What file types does Mixam accept?
If your uploaded files are not already in PDF format, our system will convert them into high-quality PDFs. PDF files preserve all formatting, style, and image information from your original file and can be scaled without affecting quality.
|
File Type Conversion |
|||
|---|---|---|---|
|
DOC Files Types to PDF |
Image File Formats to PDF |
eBook File Formats to PDF |
CAD File Formats to PDF |
| .csv, .djvu, .doc, .docx, .eml, .eps, .key, .key.zip, .mpp, .msg, .numbers, .numbers.zip, .odp, .ods, .odt, .pages, .pages.zip, .pps, .ppsx, .ppt, .pptx, .ps, .pub, .rtf, .txt, .vsd, .vsdx, .wks, .wpd, .wps, .xlr, .xls, .xlsx, .xps | .3fr, .ai, .arw, .bmp, .cdr, .cr2, .crw, .dng, .emf, .erf, .gif, .heic, .jpg, .jpeg, .mdi, .mef, .mrw, .nef, .odg, .orf, .pcx, .pef, .png, .ppm, .psd, .raf, .raw, .sr2, .svg, .tga, .tif, .tiff, .wbmp, .webp, .wmf, .x3f, .xcf | .azw, .azw3, .cbc, .cbr, .cbz, .chm, .epub, .fb2, .lit, .lrf, .mobi, .pdb, .pml, .prc, .rb, .tcr | .dwg, .dxf |
How do I upload print files?
Before uploading files to a pending order’s Artwork tab, label them clearly (e.g. cover_spread.pdf, page-1.pdf, etc.), so our system can arrange them chronologically. If any page appears out of place once uploaded, simply drag it to the correct place. Alternatively, use the three-dotted button under the relevant page and enter the new page position.
Add a quote to your shopping cart and open a pending order. Once in the Artwork tab, you can either:
- Drag and drop files into thumbnail positions
- Upload files from your desktop
- Upload from cloud-based platforms like Dropbox and WeTransfer
- Upload from web URL
| Binding / Product Type | Upload Method |
| Perfect, PUR, Hardcover |
Inner Pages: Upload one multipage document, single-page files or double-page spreads. Cover Pages: Upload a single cover spread (front cover, spine and back cover) or single cover page files and a single spine file. |
| Dust Jacket | Upload it as a single spread containing front and back panels, cover pages, and spine design. |
| Staple, Layflat, Wire-O and Spiral |
Inner Pages: Upload one multipage document, single-page files or double-page spreads. Cover Pages: Upload single cover files (front and back covers) or a single cover spread (no spine file necessary). |
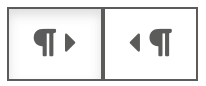
What is left-to-right binding?
Some products offer left-to-right binding. This option is suitable for books intended for left-handed writers and books in languages like Hebrew and Arabic.
Once you've uploaded your files to a pending order's Artwork tab, click the text direction icon, and you can switch your binding from the left side to the right.
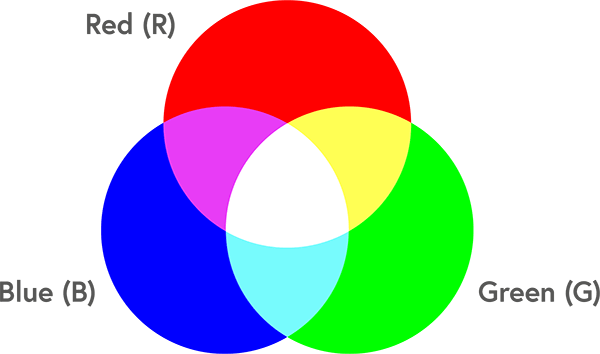
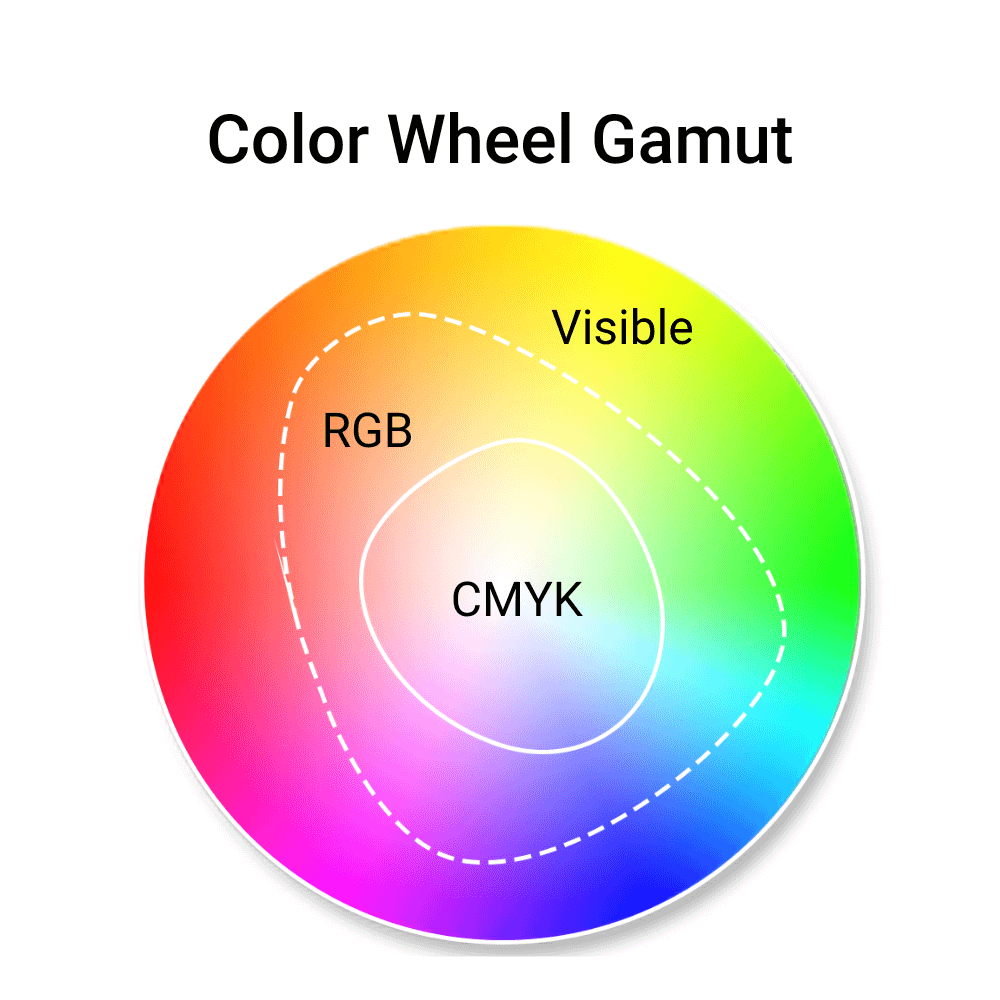
RGB vs CMYK
RGB (Red, Green and Blue) is the color model used by digital screens like laptops. All on-screen colors are created by combining varying intensities of these three primary colors. For example, red and green light mixed equally produce yellow, while red and blue make magenta. When all three colors combine at full intensity, they produce white light. RGB's color range, or gamut, is broad and capable of producing bright, vivid tones, including neon-like hues.
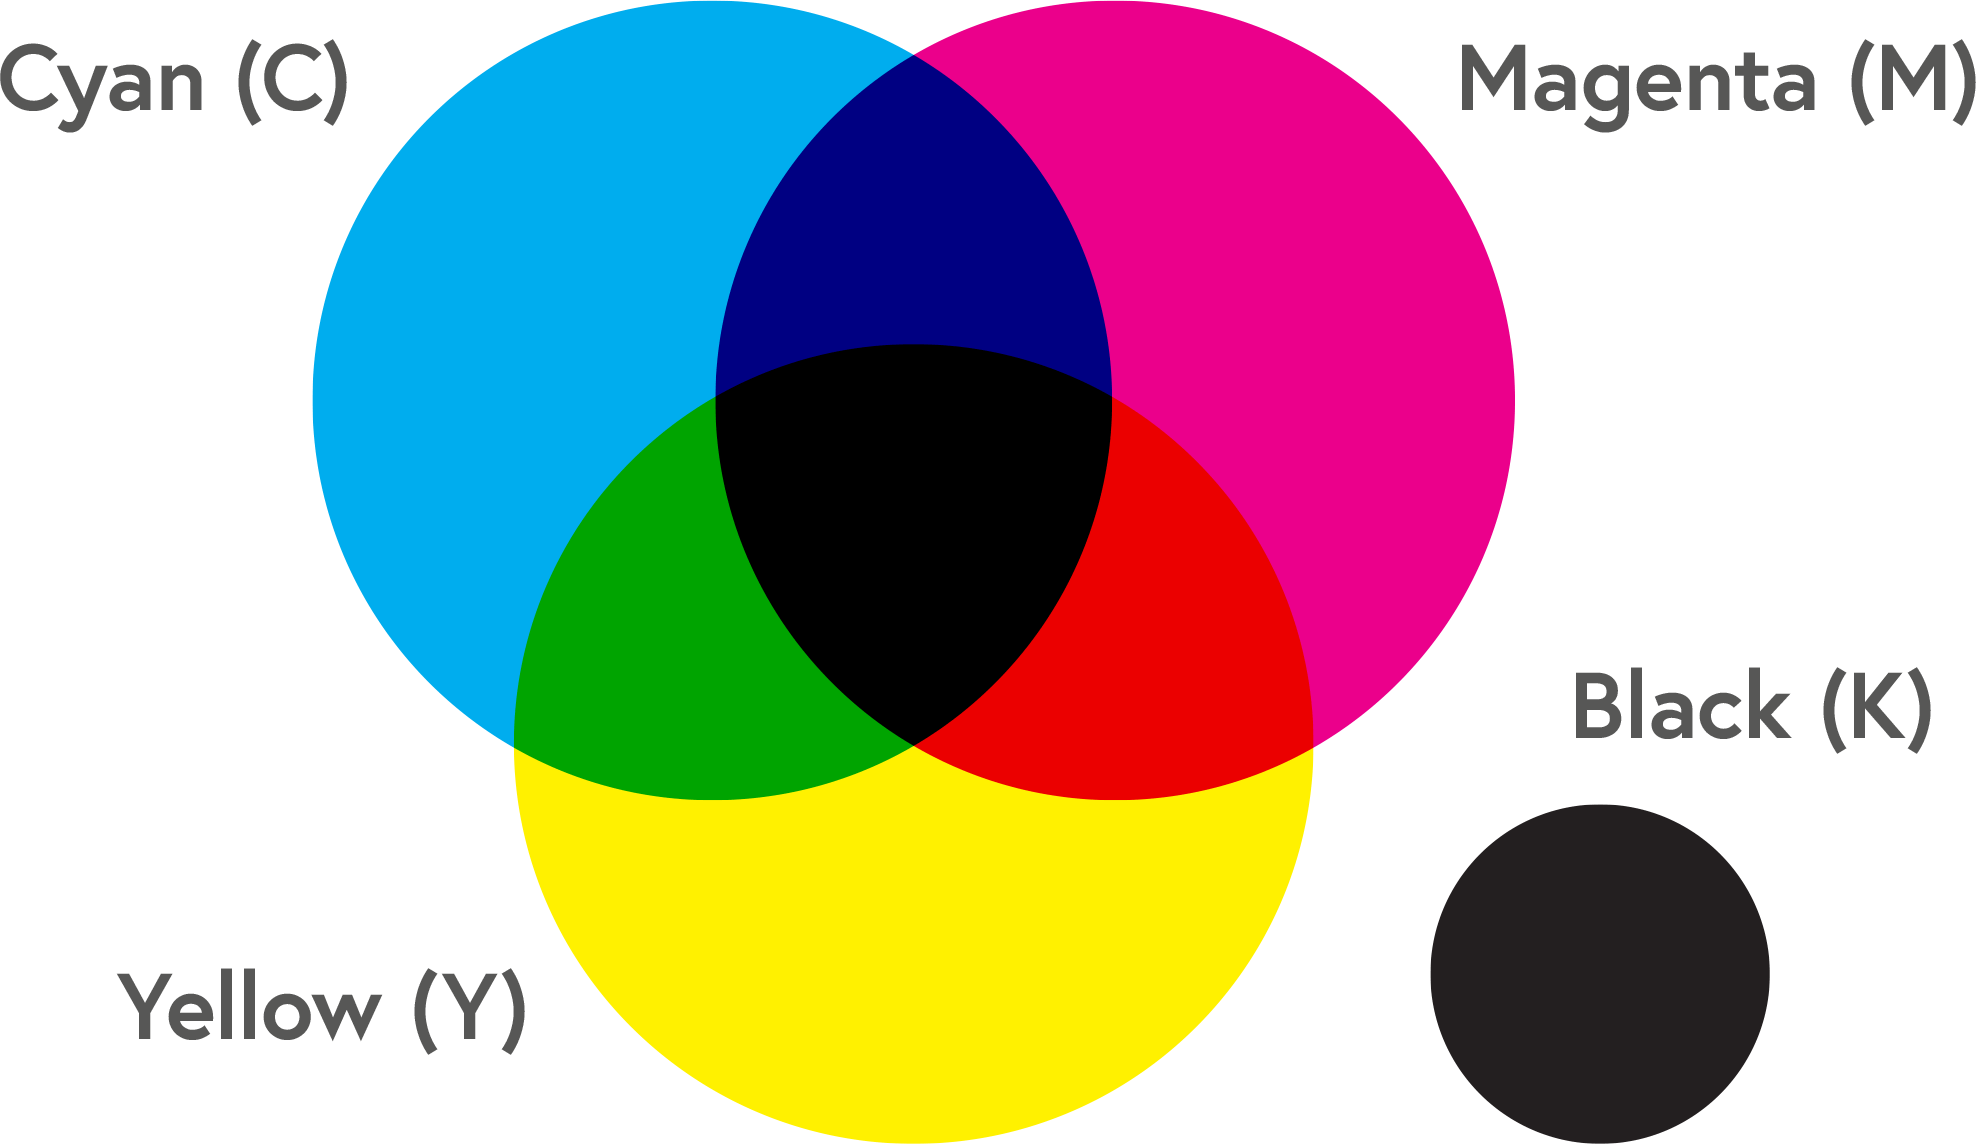
CMYK (Cyan, Magenta, Yellow and Black) is the preferred color model for print. Unlike RGB, which creates colors by mixing red, green, and blue light, CMYK relies on the interaction of ink and paper to produce visible colors. White paper reflects all light, but applying varying amounts of cyan, magenta, and yellow ink absorbs specific wavelengths, allowing others to reflect and create color. For example, cyan ink absorbs red light while reflecting green and blue, making it appear cyan to the human eye.
To reproduce specific printed colors in your designs, visit our CMYK Color Charts and Values support page.
How To Convert RGB to CMYK
If you design your own files, set your color profile to CMYK from the start. It ensures that colors stay within the gamut and that your design translates accurately into print.
Many design programs, like Adobe Photoshop, Illustrator, and InDesign, allow you to easily switch from RGB to CMYK so colors remain within the printable range.
For a step-by-step guide, visit our 'How to Convert RGB to CMYK' support page.
What is color variance?
Color variance occurs due to paper type, ink absorption, and printing equipment. While our advanced technology maintains a high level of color reproduction, these differences do not affect the overall print quality.
It’s important to note that colors may also vary between digital screens and printed materials. At Mixam, we adhere to strict color management procedures to ensure that your printed materials closely match your expectations. We keep color variance within an acceptable range based on industry standards.
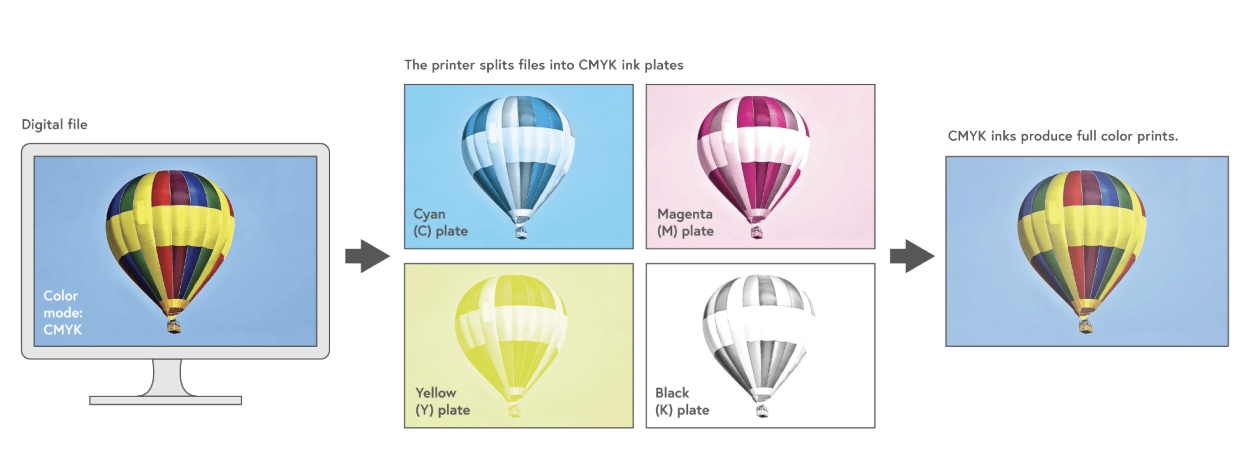
Color Printing vs Grayscale
Color printing (4-color or full-color printing) uses Cyan, Magenta, Yellow, and Black inks. Each color is applied using a separate printing plate, and the inks are layered and combined to produce a wide range of colors. This overprinting technique allows for vibrant and detailed visuals, making color printing ideal for graphic-heavy projects.
In contrast, grayscale printing (black-and-white printing) uses only Black (K) ink. This method is much simpler and relies on a single printing plate. It is a popular and economical choice for text-heavy projects.
Mixam’s Color Profile
After setting your color profile to CMYK, you can calibrate your files to our preferred color profile, GRACoL2006_Coated1v2, to ensure they have high color accuracy and consistency. Download it here.
.jobooptions for Adobe Programs
After downloading Mixam's CMYK color profile, Adobe program users can optimize files using a custom preset file to define the properties of files for Mixam’s presses, from color and fonts to transparency and bleed. You can download versions for single pages in color and grayscale, and they will automatically load into all installed Adobe programs. For more information and setup instructions, visit the .joboptions section in our Print File Setup Guide.
Ink Saturation & Density
Ink saturation measures how much ink is applied to a page, while density describes how dark or intense ink appears on paper. The more ink you apply, the darker the color becomes.
Each pixel in your file can have an ink saturation level ranging from 0% to 100% for each of the four CMYK colors, with a maximum combined saturation of 400%. However, exceeding 250% total saturation can oversaturate the paper, leading to longer drying times and increased printing costs. We recommend keeping total saturation between 150% and 250% for optimal results. This range ensures your colors remain vibrant and sharp without appearing muddy.
Colors must have a minimum saturation of 10% to appear in print. Be mindful that colors that are close together with similar saturation levels that look distinct on a screen may blend in print, resulting in only one visible tone.
The type of paper you select will also impact ink saturation. For example, gloss paper tends to hold more ink, producing vibrant colors, while uncoated papers absorb ink more readily, resulting in softer, more subdued tones. For more ink saturation and density guidance, visit our Ink Saturation and Density support page.
What is resolution in printing?
Resolution refers to the extent to which the human eye can distinguish between an image's tiniest details. Although subjective, resolution is a combination of the image quality you upload (input) and the total number of dots that a printer can produce per inch (output). In print, we measure the level of detail in dots per inch (dpi). The higher the dpi, the sharper the image.
Ensure every file or image you upload has a 300 dpi resolution. We cannot print any file with a resolution smaller than 100 dpi, as your images will appear blurred and pixelated. You can print at a higher resolution, like 400 dpi, but it will only slow the upload process and add no visual benefit to the image quality.
For more information, visit our Print Resolution support page.
Rich Black vs Standard Black
| Type | Rich Black (C 30% M 30% Y 30% K 100%) | Standard (True) Black (100% K) | Registration Black (100% C, M, Y and K) |
| When to use | For rich and saturated black tones for large text, black areas or high-contrast details | For text-heavy designs and simple layouts with standard text (30 pt for text and 2pt for lines or outlines called vector strokes) | Do not use it; it’s for printer marks only |
| When not to use | Small text, line art or fine details | For titles, headers and vector strokes | - |
If you’re an Adobe user, watch our Rich Black Text to Standard Black conversion video tutorial on YouTube below.
As you understand what's involved in preparing print-ready files, explore our Printing Options and Customization guidance.